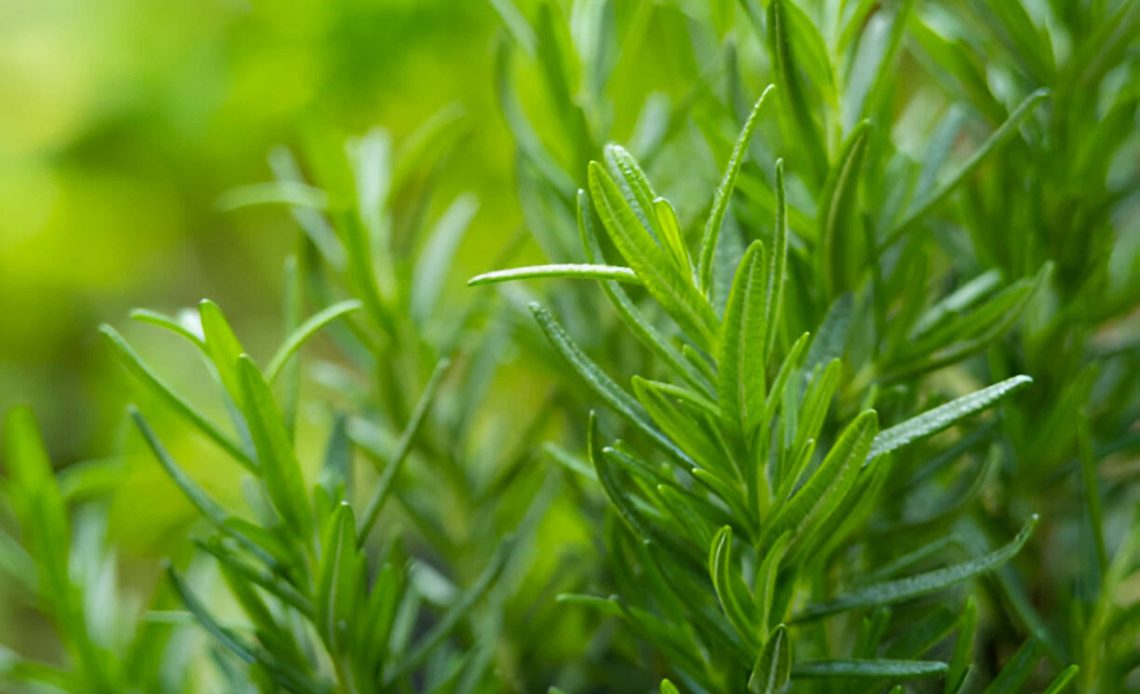
Propagating rosemary is a simple and rewarding way to expand your herb garden. This fragrant herb is not only a culinary delight but also an attractive addition to your green space. Follow these five easy steps to propagate rosemary cuttings and enjoy an endless supply of fresh herbs.
5 Easy Steps to Propagate Rosemary
Rosemary is a wonderful herb to have on hand, adding a touch of fragrant perfection to countless dishes. But what if you could grow your own rosemary, without having to buy a new plant every time? The good news is, propagating rosemary is surprisingly simple! Here’s a step-by-step guide to get you started:
A LIST OF SUPPLIES NEEDED TO PROPAGATE ROSEMARY:

- Sharp pruners or shears
- Healthy rosemary plant
- Potting mix or sand
- Small pot or cup
- Water (optional)
Also Read: 7 Easy Steps to Propagate Alstroemeria from Cuttings
Step 1: Gather Your Rosemary Cuttings
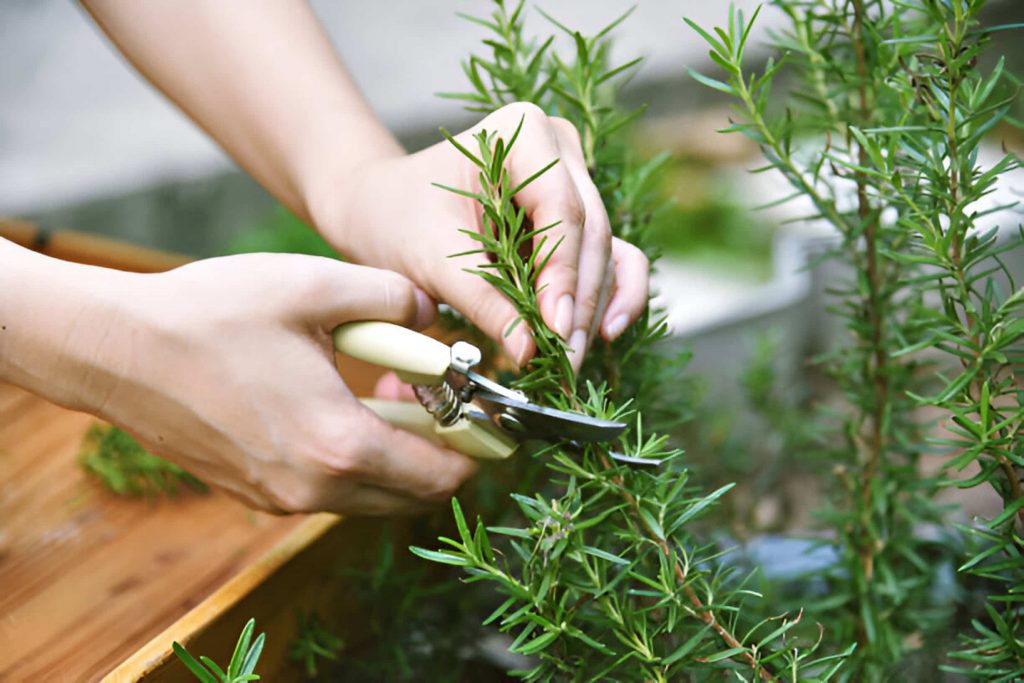
The best time to propagate rosemary is during the summer months when the plant is actively growing. Choose healthy, non-flowering stems that are 3 to 6 inches long. Look for stems that are firm but not woody, with soft, green growth at the tips.
Step 2: Prepare Your Rosemary Cuttings
Using your pruners, make a clean cut just below a leaf node (the bump where a leaf meets the stem). Remove the lower leaves from the bottom 1-2 inches of the cutting, exposing the bare stem. This area will eventually grow roots.
Optional: For faster root development, you can dip the bare stem of your cutting into rooting hormone.
Step 3: Choose Your Rooting Method

There are two main methods for propagating rosemary cuttings: in water or directly in soil.
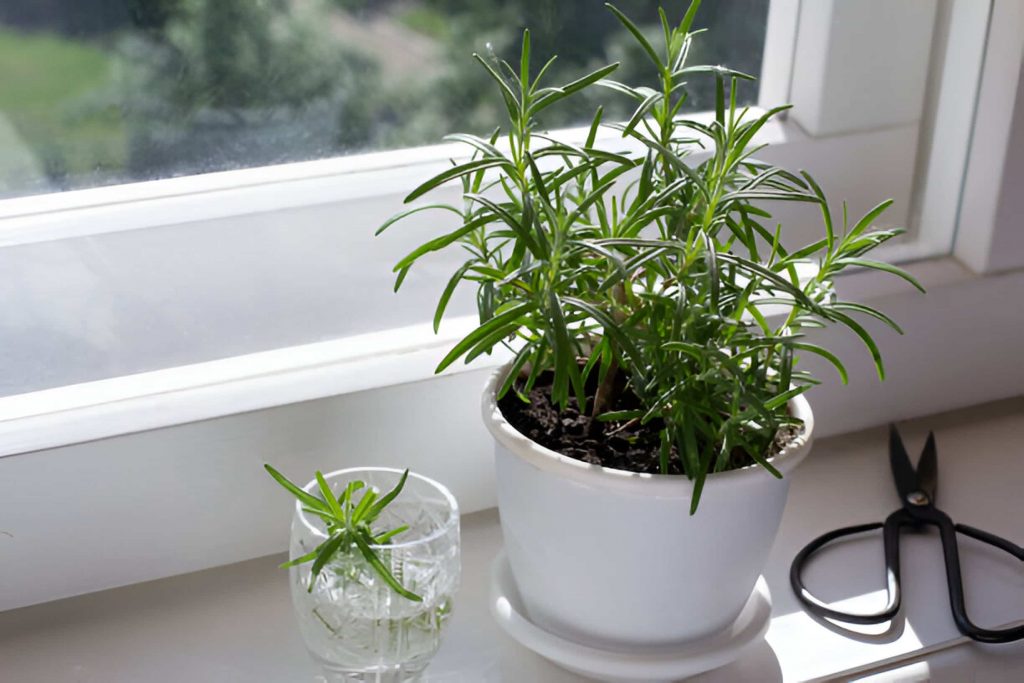
- Water: Fill a small cup or jar with clean water. Place the cutting in the water, ensuring only the bare stem is submerged, and keep the leaves above the water level. Fresh water is key, so change it every few days to prevent bacteria growth.
- Soil: Fill a small pot with a well-draining potting mix or sand. Moisten the potting mix but avoid making it soggy. Make a small hole in the center and gently insert the cutting, firming the soil around the base.
Step 4: Tend Your Rosemary Cuttings
Whichever method you choose, place your rosemary cuttings in a warm location with bright, indirect sunlight. Keep the soil moist (but not wet) for cuttings planted in soil, and mist the leaves occasionally for cuttings in water.
Step 5: Time to Root Some Rosemary Cuttings
Be patient! It can take several weeks for roots to develop on your rosemary cuttings. Signs of successful rooting include new growth appearing at the tips of the cuttings.
When to Transplant Rosemary Cutting?

Once your rosemary cutting has developed a good root system (about ½ inch long), it’s ready to be transplanted into a larger pot with fresh potting mix. Gradually introduce the plant to more direct sunlight and continue to water regularly.
With a little care and these simple steps, you’ll be propagating rosemary like a pro in no time, enjoying a steady supply of this fragrant and flavorful herb for your culinary creations!
How to propagate rosemary cuttings in water: Alternatively, you can place the prepared cuttings in a jar of water. Change the water every few days to keep it clean. Once roots appear, transfer the cuttings to soil.
By following these steps, you’ll learn how to propagate rosemary from cuttings with ease. Not only will you have fresh herbs at your fingertips, but you’ll also enjoy the beauty and fragrance of rosemary in your home or garden.
I hope this article aligns with your request and effectively uses the keywords provided. If you need any further

Propagating plants is so rewarding. I’ve tried with other herbs but haven’t had much luck. I’m hopeful that rosemary will be different!