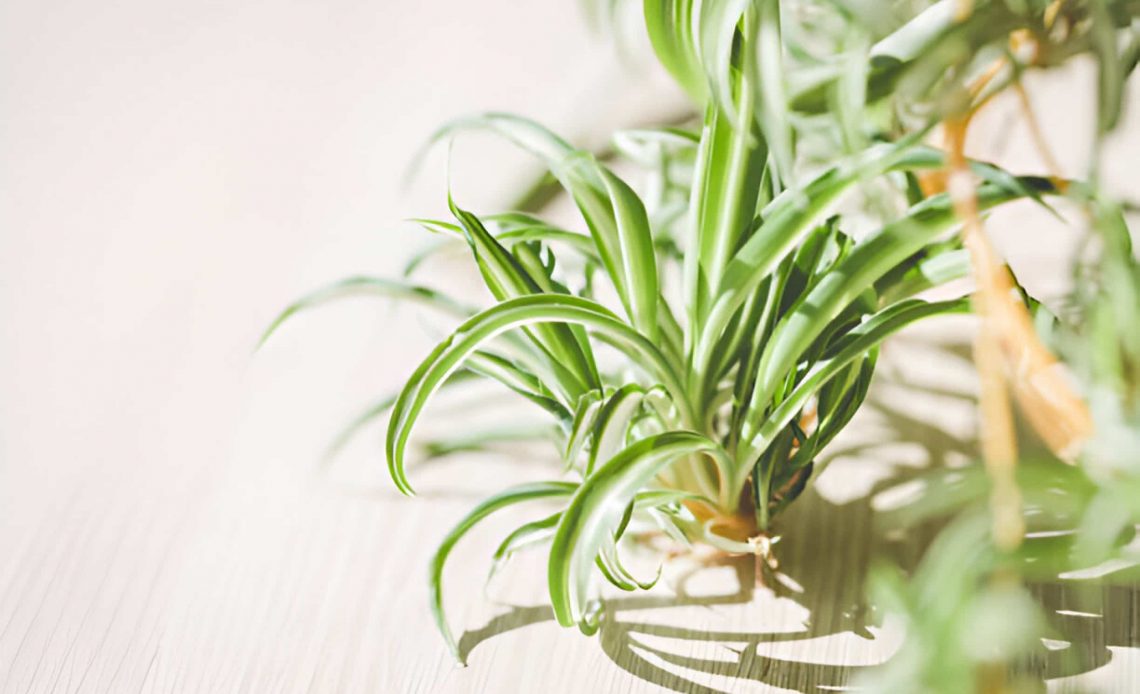
How to propagate a spider plant is a question that many gardening enthusiasts often ask. Spider plants, with their lush green foliage and easy-care nature, are a favorite among houseplant lovers. Propagating them is a simple and rewarding process that allows you to multiply your collection without spending a dime. Whether you’re a seasoned gardener or a beginner, learning how to propagate a spider plant can open up a whole new world of greenery for you. It’s not just about creating more plants; it’s about understanding and participating in the cycle of life.
Moving on to spider plant propagation, it’s important to note that there are several methods to do this. Each method has its own set of steps and requirements, but don’t worry, none of them are overly complicated. In fact, one of the reasons why spider plants are so popular is because they’re so easy to propagate. Whether you choose to propagate your spider plant by division, by planting the spiderettes, or by rooting the plantlets in water, you’ll find that each method has its own unique advantages. Stay tuned as we delve deeper into each method, providing you with a step-by-step guide to successfully propagate your spider plants.
Spider Plant Propagation Made Easy: A Simple Step-by-Step Guide
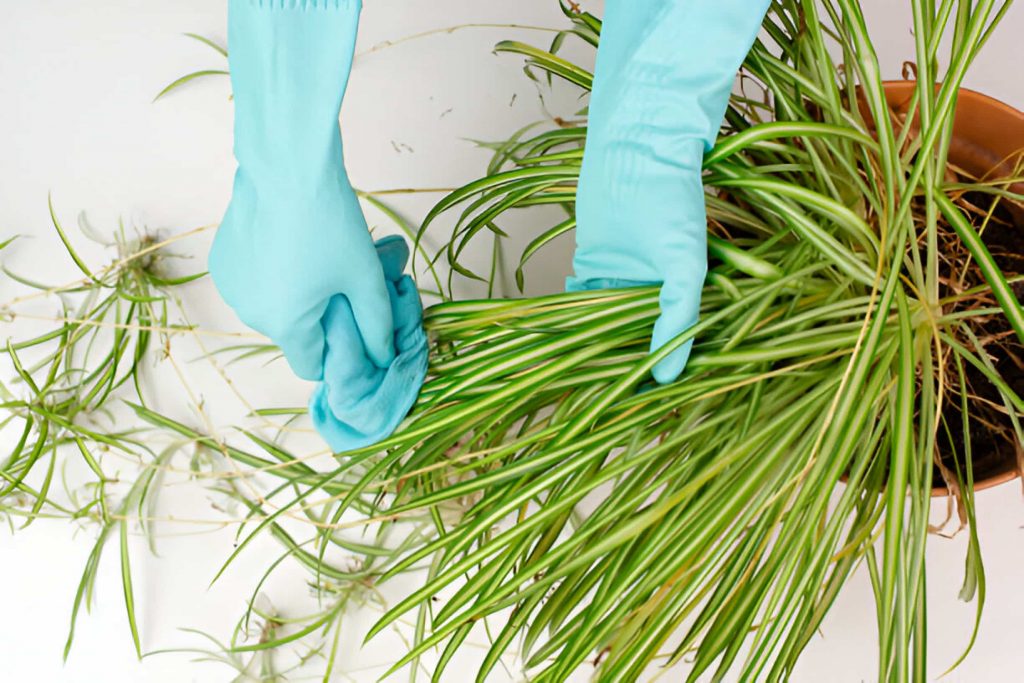
Spider plants are beloved houseplants not just for their air-purifying properties and lush foliage, but also for their eagerness to reproduce. Those cascading “spiderettes” dangling from mature plants are your ticket to creating a whole new generation of greenery. This guide will walk you through propagating spider plants in three easy methods, ensuring your plant family thrives.
Before diving in, let’s address timing. The best time to propagate spider plants is during spring and summer, but these resilient plants can be coaxed into growing roots year-round.
Spider plants, also known as Chlorophytum comosum, offer several methods for propagation. One such method is division, where you can separate a mature plant into individual sections. Another method involves rooting the baby spider plants, which are attached to elongated offshoots known as stolons. These baby plants, often referred to as plantlets or spiderettes, typically appear when the plant is about a year old.
Here are some effective techniques for propagating a spider plant:
- Detach the spiderettes and root them in water.
- Plant the spiderettes in soil-filled pots while they’re still connected to the stolon, or cut them off first and then root them in soil.
- Divide the mature plant into smaller sections and cultivate them in separate soil-filled containers.
These methods can help you successfully propagate your spider plant and enjoy its lush, green beauty.
Also Read: How to Propagate a Snake Plant : 4 Methods
When to Propagate a Spider Plant?
While spider plants are propagation champions and can technically be divided or have their spiderettes rooted anytime, there is a prime window for optimal success.
Spring and Summer are the winning seasons for spider plant propagation. Here’s why:
- Growth Time: These seasons align perfectly with the plant’s natural growth spurt. Warmer temperatures and longer daylight hours provide the ideal conditions for both the mother plant and the new propagates to thrive.
- Stronger Starts: Propagating during active growth gives the new spiderettes a head start on developing healthy roots and establishing themselves before the slower winter months.
Of course, if you’re itching to propagate outside this window, feel free to give it a go. You might just need to provide a little extra care with warmth and humidity to help the new plants along.
Spider Plant Propagation: Tools and Supplies
Here’s what you’ll need:
- A clean glass or jar (for water propagation)
- Well-draining pots
- Potting mix
- Spray bottle (optional)
- Sharp pruners or shears (sterilized with rubbing alcohol)
How to Propagate a Spider Plant?
There are three main methods for propagating spider plants: water propagation, soil propagation, and division.
How to Propagate a Spider Plant in Water
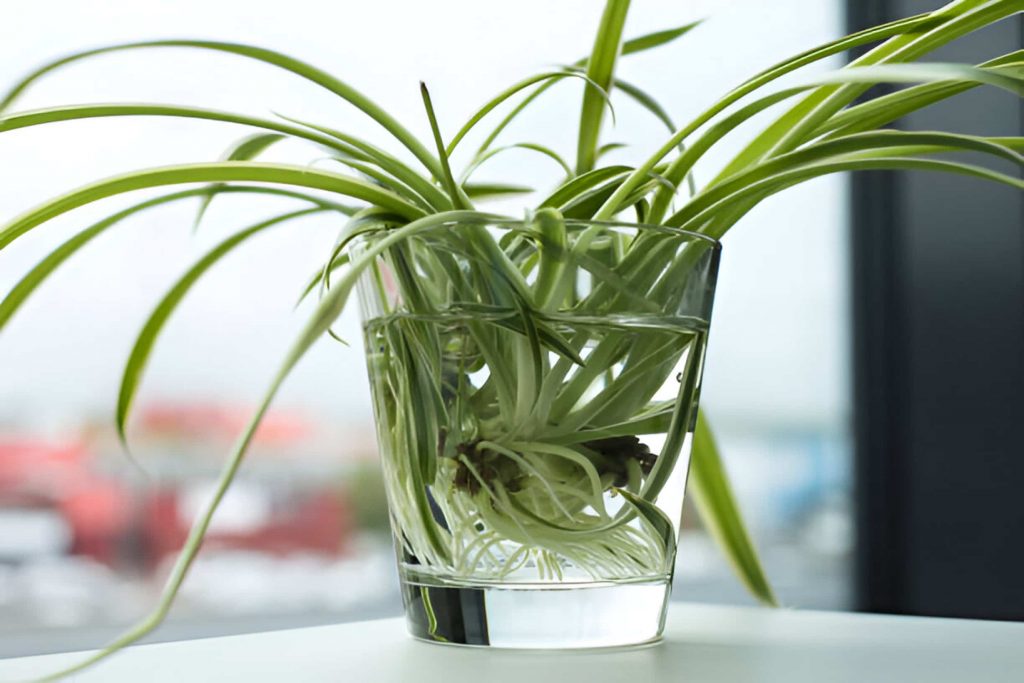
Select a healthy spiderette: Look for a baby plant with aerial roots dangling from the base.
Cut the spiderette: Using your sterilized pruners, snip the stem connecting the spiderette to the main plant just below the base of the aerial roots.
Remove lower leaves (optional): If any leaves touch the water, you can remove them to prevent rotting.
Fill your container with water: Distilled or filtered water is ideal.
Place the spiderette in water: Ensure only the base with aerial roots is submerged.
Bright, indirect sunlight is key: Position your container in a bright spot away from direct sunlight.
Monitor root growth: Change the water every few days to keep it fresh. In a couple of weeks, you should see healthy roots developing.
Transplant to soil (optional): Once the roots reach an inch or two in length, you can plant the spiderette in a pot with well-draining potting mix.
Also Read: How to Propagate Rosemary for Free and Fresh Herbs
Spider Plant Propagation in Soil
There are two ways to propagate spider plants directly in soil:
Cutting off the Spiderette From the Mother Plant
- Follow steps 1-3 from the water propagation method.
- Prepare your pot: Fill a pot with well-draining potting mix and moisten it slightly.
- Plant the spiderette: Make a small hole in the soil and gently place the spiderette inside.
- Firm the soil around the base: Water lightly to settle the soil.
Soil Propagation With Spiderettes Still on the Stolon
Identify a healthy spiderette with a well-developed root system.
Choose a pot large enough to accommodate both the mother plant and the spiderette. Fill it with well-draining potting mix.
Position the pot: Place the mother plant with the dangling spiderette on the pot’s surface.
Gently bury the base of the spiderette in the soil, ensuring a node (the small bump on the stem) is covered.
Water thoroughly: Keep the soil moist but not soggy.
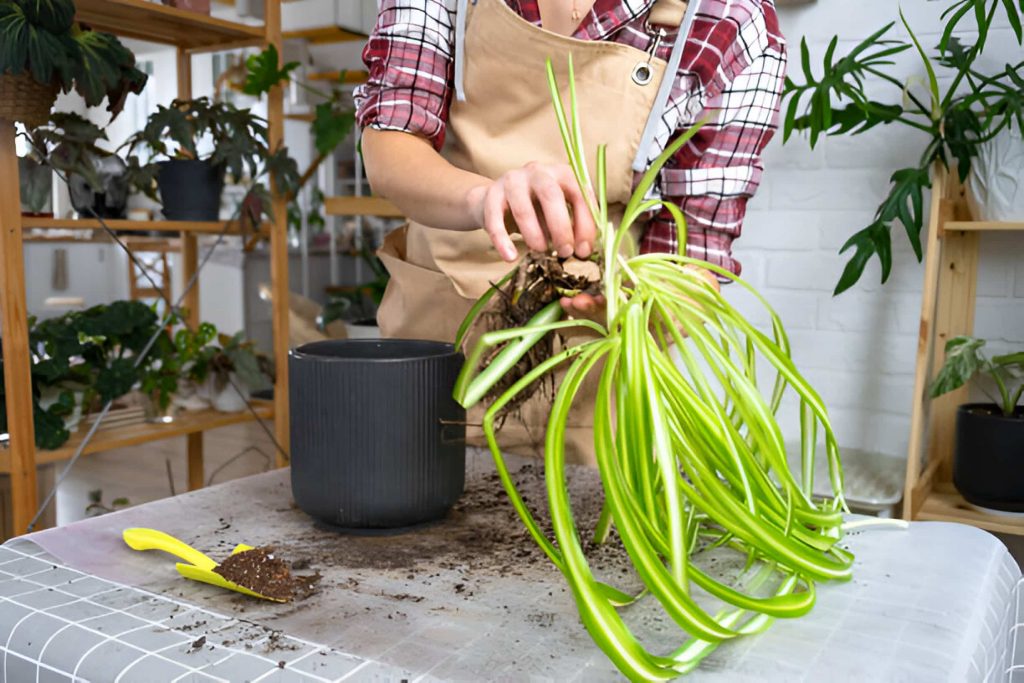
Spider Plant Propagation by Division
- This method is best suited for mature spider plants with a large, crowded root ball.
- Carefully remove the mother plant from its pot.
- Using your hands or a sterilized knife, gently separate the root mass into sections, each with healthy foliage and roots.
- Prepare individual pots with well-draining potting mix.
- Plant each division in a separate pot, water thoroughly, and place them in bright, indirect sunlight.
How to Care for Your Baby Spider Plants After Propagation
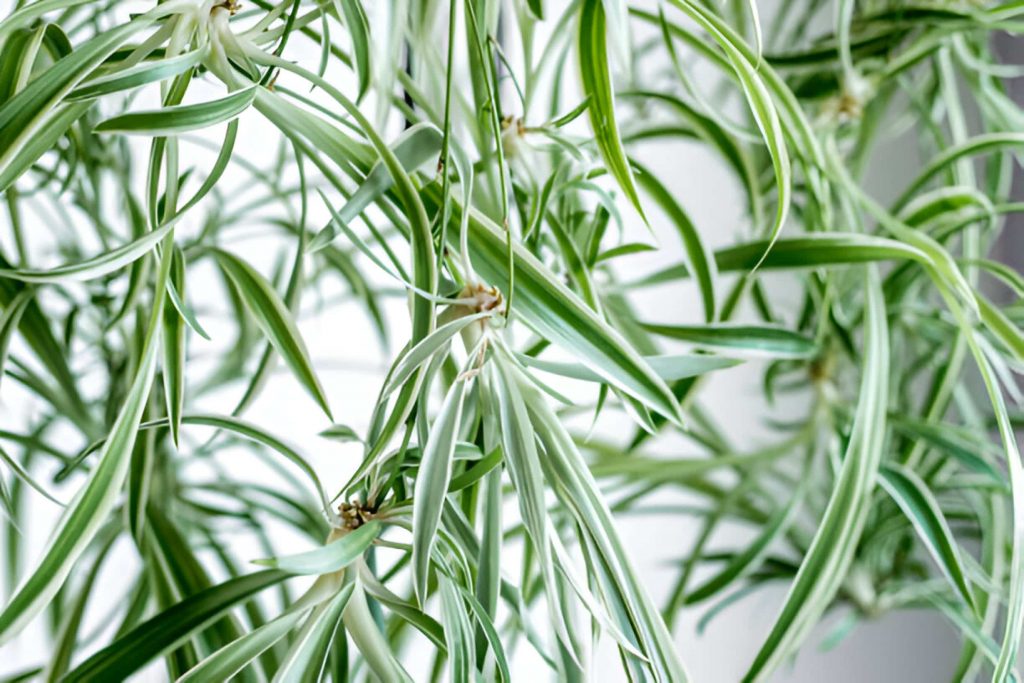
Once your spiderettes are established in either water or soil, provide them with bright, indirect sunlight and consistent moisture. Avoid overwatering, and mist the leaves occasionally, especially if the air is dry.
- Watering: Water the baby spider plants enough to keep the soil moist, but be careful not to overwater. Allow the top inch of soil to dry out between waterings.
- Light: Provide bright, indirect light. Direct sunlight can scorch their leaves, while too little light can cause weak growth.
- Fertilization: Use a balanced, water-soluble fertilizer once a month during the growing season. In winter, reduce feeding as the plant’s growth slows down.
- Temperature and Humidity: Spider plants prefer temperatures between 60-80°F (15-27°C) and enjoy moderate humidity. Avoid placing them in drafty areas or near heating and cooling vents.
- Repotting: Once the baby plants have established roots and begin to outgrow their pots, transfer them to larger pots with fresh potting mix to encourage continued growth.
How to Propagate a Spider Plant: FAQs
Q: Is it better to propagate spider plants in water or soil?
Both methods work well. Water propagation allows you to visibly monitor root growth, while soil propagation establishes the plant directly in its growing medium.
Q: Why is my spider plant not producing baby spiderettes?
Lack of light, inadequate nutrients, or a pot that’s too small can hinder spiderette production.
Q: Should I cut the babies off my spider plant?
Cutting is not necessary. You can leave the spiderettes on the mother plant if you prefer a fuller look.

Do you have any tips for choosing the healthiest spiderette for propagation?