Ever dreamed of having a sprawling field of fragrant lavender but worried about the cost? The beauty of lavender is that you can easily propagate new plants from your existing one! This process, known as propagation, allows you to create new lavender specimens without breaking the bank. Not only is it cost-effective, but it’s also a rewarding way to expand your garden and share the beauty of lavender with friends and family. This guide will walk you through the step-by-step process of propagating lavender from cuttings, ensuring you have a flourishing abundance of these lovely herbs in no time.
When to Propagate Lavender?
The best time to propagate lavender from cuttings depends on your climate and the type of cutting you choose. Spring (between June and September) is the ideal window for most areas. During this active growing period, lavender propagates faster and with a higher success rate. This is especially true for softwood cuttings, which are new, green shoots. In warmer climates, you can attempt propagation with hardwood cuttings (mature, woody stems) from late summer to early fall. However, these cuttings take longer to root and require more winter care. Colder climates with shorter growing seasons should stick to spring propagation to give the cuttings enough time to establish roots before winter. No matter the timing, remember to choose healthy, non-flowering stems for the best results when propagating your lavender.
Methods for Propagating Lavender

Propagation Lavender from Cuttings:
This is the most common method. Take 3-4 inch cuttings from healthy lavender stems, remove lower leaves, and plant them in well-draining soil. Keep the soil damp and provide sunlight.
Optional: Dip cuttings in rooting hormone for better results.
Propagation Lavender from Seeds:
Collect mature lavender seeds from dried flower heads.
Sow seeds in a seed tray or directly in the garden soil.
Keep the soil consistently moist until germination occurs.
Layering:
Bend a low-hanging lavender stem to the ground.
Bury a section of the stem in soil, leaving the tip exposed.
Roots will form at the buried section, and you can later separate it as a new plant.
What You Will Need For Propagating Lavender

Regardless of the method you choose, you’ll need some essential tools:
- Sharp pruners or scissors
- Potting mix with good drainage
- Pots or seed trays
- Optional: Rooting hormone
Also Read: How to Easily Propagate Spider Plants: 3 Methods and Step-by-Step Guide
How to Propagate Lavender
Lavender, with its delicate purple blooms and enchanting fragrance, has long captivated the hearts and imaginations of people worldwide. Lavender plant meaning purity, tranquility, and devotion, lavender has found its way into gardens, homes, and even culinary creations. But what if you could transform your admiration for lavender into an abundance of these fragrant beauties?
Lavender is a beautiful and fragrant herb that’s surprisingly easy to propagate, meaning you can create new plants from your existing one! Here’s a detailed breakdown of the steps involved in propagating lavender plants from cuttings:
1. Choose Blossom-Free Stems to Cut
When propagating lavender, it’s important to select the right stems. Look for healthy, non-flowering shoots. Avoid stems with blooms or buds, as these will take away energy from root development.
2. Take Cuttings
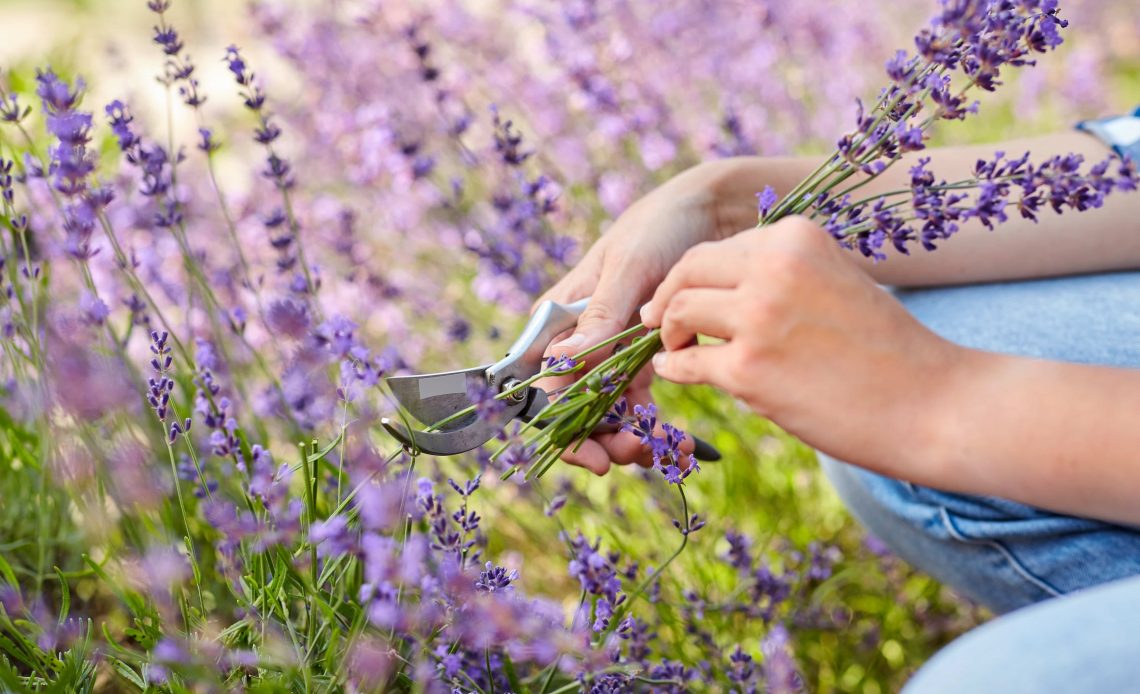
Using sharp pruners or shears, take cuttings 4-6 inches long from the chosen stems. Make a clean cut at a 45-degree angle just below a leaf node (the bump where a leaf meets the stem). This angled cut increases the surface area for root growth.
3. Remove Lower Leaves
Strip off the lower 1/3 to ½ of the leaves from your lavender cuttings. This helps prevent them from rotting in the soil while also encouraging the plant to focus its energy on root propagation.
4. Prepare Your Pot
Fill a pot with a well-draining potting mix. A mixture of potting soil and perlite is a good option. Moisten the potting mix lightly before inserting the cuttings.
5.Dip Cuttings in Rooting Hormone
While not essential, dipping the cut end of your lavender cuttings in rooting hormone can promote faster and more successful root development. Rooting hormone is a powder or gel available at most garden centers.
6. Plant Cutting in Soil
Make a small hole in the moistened potting mix for each cutting. Gently insert the cutting into the hole, ensuring good contact between the stem and soil. Firm the soil gently around the base of the cutting.
7. Monitor the Cuttings
Water your newly planted lavender cuttings thoroughly. Keep the soil consistently moist, but not soggy. Place the pot in a location with bright, indirect sunlight. It can take several weeks for roots to develop. Signs of successful propagation include new growth appearing on the top of the cuttings.
Also Read: How to Propagate a Snake Plant : 4 Methods

Can you propagate lavender in water?
You certainly can propagate lavender cuttings in water, though it’s generally considered less successful than using soil. Here’s a breakdown of lavender propagation in water with the keywords in mind:
Challenges of Propagating Lavender Cuttings in Water:
- Higher Chance of Root Rot: Lavender is prone to root rot, which happens when the roots drown due to excessive moisture. Water propagation creates a constantly damp environment, increasing the risk of root rot compared to the more controlled moisture levels achievable with soil.
- Potentially Slower Rooting: Soil provides some physical support for the cutting, which can encourage faster root development. Water lacks this support, potentially slowing down the propagate lavender cuttings in water process.
Also Read: How to Propagate Rosemary for Free and Fresh Herbs
