
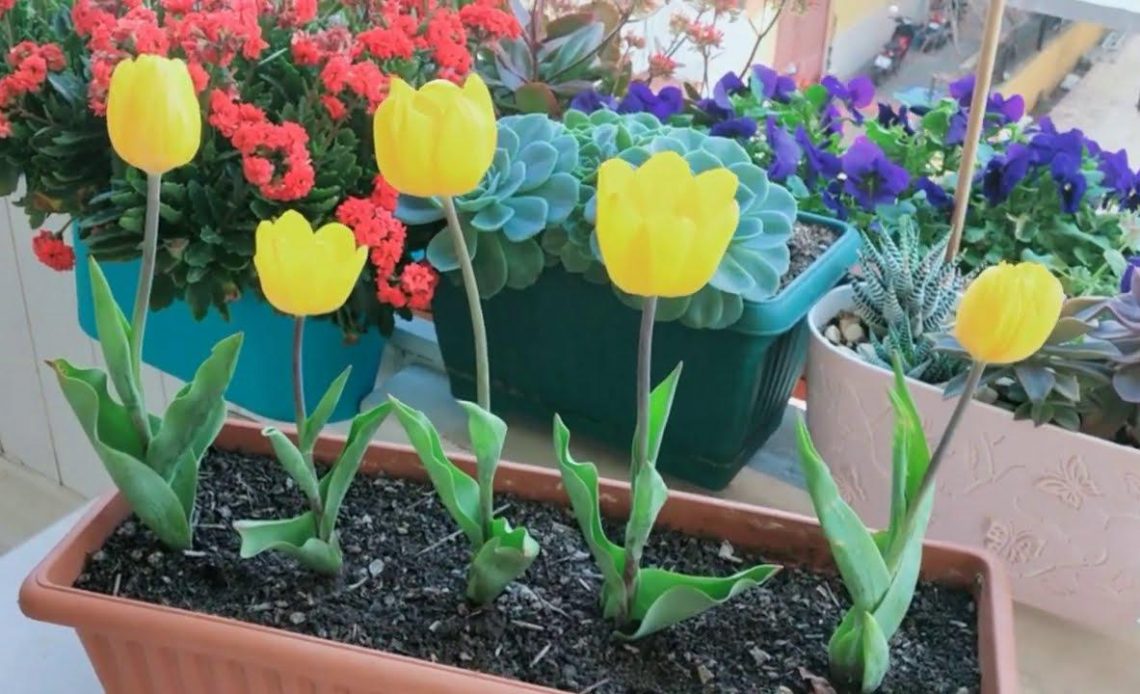
Tulips are one of the most popular spring flowers that brighten up our gardens with their colorful and cheerful blooms. But what should we do with them after they finish flowering? How can we make sure that they will come back next year and delight us again with their beauty? In this article, we will answer these questions and give you some tips on how to care for tulip bulbs after they bloom.
Why You Should Care for Tulip Bulbs After They Bloom?
Tulips are perennial plants, which means that they can live for more than one year and produce flowers every spring. However, not all tulips are equally reliable as perennials. Some varieties, especially the hybrid ones, tend to lose their vigor and bloom less over time. This is because they put a lot of energy into producing large and showy flowers, which leaves less energy for the bulb to store for the next season.
Therefore, if you want to enjoy your tulips for many years, you need to give them some extra care after they bloom. This will help them to replenish their energy reserves and form new bulbs that will produce flowers next year. By following some simple steps, you can increase the chances of your tulips re-blooming and keep them healthy and happy.
How to Care for Tulip Bulbs After They Bloom
The first thing you need to do after your tulips have finished flowering is to deadhead them. This means that you should cut off the faded flowers with a sharp and clean pair of scissors or pruners. This will prevent the tulips from forming seeds, which would take away energy from the bulb. Instead, the tulips will focus on storing food in the bulb for the next season.
However, you should not cut off the leaves and stems of the tulips. These are still important for the plant, as they collect sunlight and make food through photosynthesis. You should leave them intact until they turn yellow and die back naturally, which usually happens in late spring or early summer. This way, you will allow the tulips to gather as much energy as possible and prepare for dormancy.
Once the leaves and stems have dried up, you can gently pull them off or cut them at the base. Then, you have two options: you can either leave the bulbs in the ground or dig them up and store them until fall. The best option depends on the type of tulip and the climate you live in.
Leaving the Bulbs in the Ground
Some tulips, especially the species ones and the Darwin hybrids, are more likely to re-bloom if you leave them in the ground. These tulips are more adapted to natural conditions and can tolerate cold winters and hot summers. However, you need to make sure that the soil is well-drained and not too wet, as this can cause the bulbs to rot. You also need to protect the bulbs from rodents and other pests that may dig them up and eat them.
If you decide to leave the bulbs in the ground, you can apply a balanced fertilizer to the soil after the leaves have died back. This will provide some extra nutrients to the bulbs and help them grow stronger. You can also mulch the area with organic matter, such as compost or straw, to keep the soil moist and cool. In the fall, you can remove the mulch and water the bulbs to encourage them to sprout.
Digging Up and Storing the Bulbs
Some tulips, especially the more hybridized ones, such as parrot, fringed, and double tulips, are less likely to re-bloom if you leave them in the ground. These tulips are more sensitive to temperature and moisture fluctuations and may not survive the summer heat or the winter frost. Therefore, if you want to try to grow them again next year, you need to dig them up and store them in a cool and dry place until fall.

To dig up the bulbs, you should wait until the leaves have completely died back, which indicates that the bulbs are dormant. Then, you can use a garden fork or a trowel to gently lift the bulbs out of the soil, being careful not to damage them. You should brush off any excess soil and remove any damaged or diseased bulbs. You should also separate any new bulbs that have formed from the mother bulb.
Next, you need to cure the bulbs, which means that you need to let them dry for a few days in a well-ventilated and shady place. This will harden the skin of the bulbs and prevent them from rotting. After curing, you can place the bulbs in a paper bag, a cardboard box, or a mesh net and label them with the name and color of the tulip. Also you should store the bulbs in a cool and dry place, such as a basement, a garage, or a refrigerator, where the temperature is between 35 and 45 degrees Fahrenheit.
You should check on the bulbs periodically and remove any that show signs of mold or decay. You should also keep them away from fruits and vegetables. As these can produce ethylene gas, which can damage the bulbs. In the fall, you can plant the bulbs in the ground or in containers, following the same steps as when you planted them for the first time.
Tulips are wonderful spring flowers that can brighten up any garden with their colors and shapes. However, they need some special care after they bloom to ensure that they will come back next year and produce more flowers. By deadheading, tulip fertilizing, and either leaving or digging up and storing the bulbs. You can help your tulips to survive and thrive for many seasons. We hope that this article has given you some useful tips on how to care for tulip bulbs after they bloom and that you will enjoy your tulips for a long time.